Composting transforms organic waste, such as fruit and vegetable scraps, into nutrient-dense soil amendment.
Curious about how to compost?
Lucky for you, our team built this step-by-step guide to help you start your journey to becoming a seasoned compost pro with this introductory guide.
Composting comes with many earth and people-positive benefits:
Less food waste – Improved soil health and microbial activity – Carbon sequestration – Water retention – Reduced need for chemical fertilizers
It is estimated that Americans waste about 60 million tons of food every year.
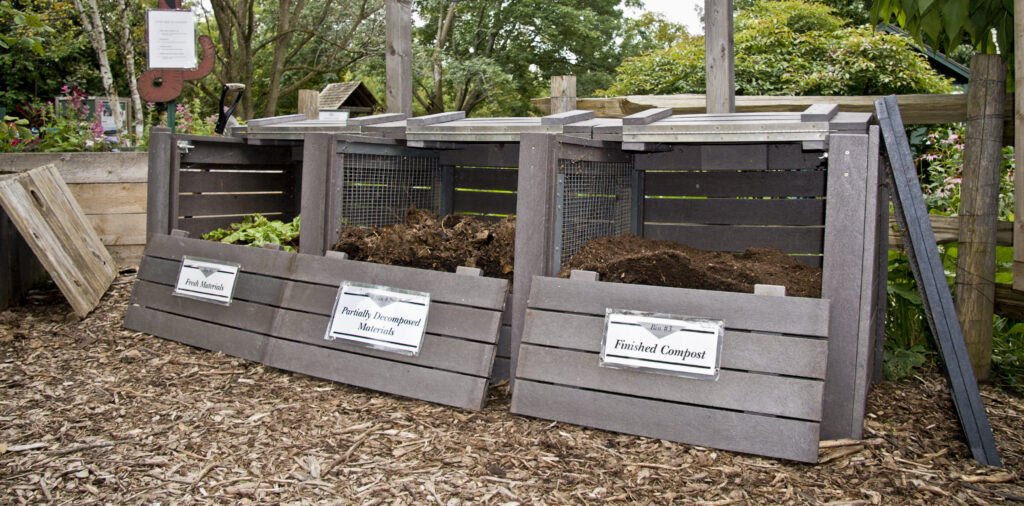
Step 1: Choose your compost methodology
Indoor
Vermicomposter (worm bin for under your kitchen counter) Insider tip: put your food scraps in the freezer to prevent odors and fruit flies
Community
Use your city’s green bin system – be careful to not throw toxic products in there, it’s going into our soil and food!
No green bin? Ask your city for one, or
Find a community garden looking for your food scraps
Backyard
Read on for a deep dive into how to start your backyard compost
Microbes are working hard – your compost pile can get to temperatures of 130° to 160° F which helps destroy thermosensitive pathogens, fly larvae, and weed seeds.
Step 2: What to Compost
Greens - nitrogen-based
Food scraps
Coffee grounds
Fresh grass clippings
Horse, cow, and chicken manure
Seaweed (if you live near the coast, and it’s legal to collect)
Browns - carbon-based
Dry leaves, grasses and dead plant clippings
Shredded paper and cardboard
Wood chips and pine needles
Straw
Water & Air
… the magic ingredients!
*What NOT to compost
Meat scraps
Bones
Grease
Whole eggs or dairy products
Pet manure
Cat litter
Diseased plant material
Metal
Glass
Plastic
Warning: Adding these to your compost pile may result in new rodent friends, unpleasant odors, or worse.
Step 3: Get down & dirty with it
Use a wooden bin or a hole in the ground to start your compost pile
Layer greens and browns like your mom’s lasagna
Generally add 1-3 times the volume of browns to the greens
Add water to make your pile damp
Make sure you pile has air by turning every 1-2 weeks
A well-maintained compost pile will be ready to go in 3-5 months.
Step 4: Ready to regenerate your soil
Signs it’s ready
Compost pile is no longer heating up
No visible food scraps
Smells like a forest
Dark and crumbly
Once your compost meets the criteria above, leave to finish for four more weeks
How to use
Mix into garden beds
Add to potted plants
Use while planting trees and growing veggies
Learn More
Don’s Recommended Compost Book Starter Set
Worms Eat My Garbage by Mary Appelhof
The Rodale Book of Composting by Grace Gurshuny and Deborah L. Martin
The Secret Life of Compost by Malcolm Beck
Chop your greens and browns into smaller pieces to speed up the compost process.
If it smells bad, add browns.
If it’s dry and not breaking down, add greens and water.
This resource is brought to you by New Chapter, a proud Partner of Kiss the Ground.
Check out our dozens of other Purchasing Guides below.
For every $100 donated to Kiss the Ground, we inspire and catalyze the transition of 10 acres into regenerative agriculture, working directly with farmers and partners. Read our full impact here.